Gesture Controlled car
| Engineer | School | Area of Interest | Grade |
| Daniel Wong | Berkeley High School | Electrical Engineering | Freshman |

Reflection
These past 3 weeks I really enjoyed working on this project and working around problems in my coding and connections. Even though engineering can be very frustrating sometimes I still had lots of fun. Learning new skills such as soldering and learning about Motor drivers was very interesting and a little bit scary sometimes. After getting a good glimpse at what engineering is I think I will definitely do more engineering in the future.

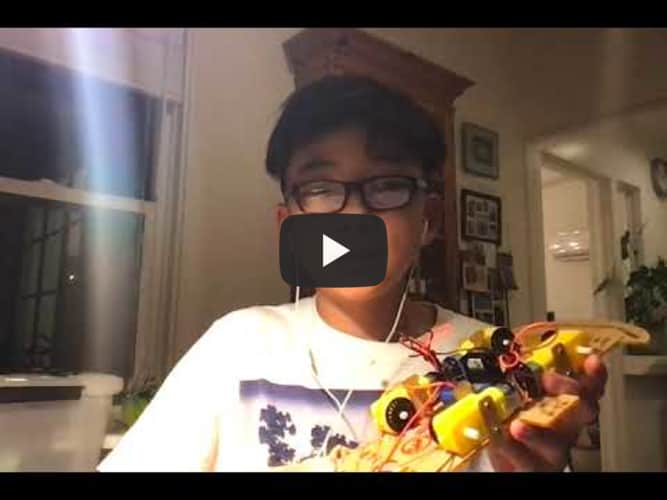
Final Milestone
My final milestone was to have a functioning car that could spin and move in different directions. I did a lot of coding and trial and error to get the motors to spin and go different directions, and I did get a functioning car but because there were some issues with my car I had to do some last minute changes to it. A problem that I faced during this was that not all four of my motors were spinning because my 9 volt battery because it wasn’t strong enough to power all four, so I switched from the battery to plugging into a outlet in my wall through my arduino uno. Another problem I had was my second ESP was broken and I didn’t have enough time by demo night to get the ESP so I only used one ESP, this meant that my accelerometer was stuck to my car and that I had to merge both of Receiver and Sender codes into one. The code on the left is a IF statement. What the if statement does is that when I tilt my accelerometer a certain number of degrees and they are between 300 and 340 degrees then the motors will start to spin. The code on the right has no range of numbers because if the degrees the accelerometer istiled doesn’t match any range of numbers then the motors wont spin.
(Here is what some of my code looked like)
 if (y >= 300 && y <= 340) {                 } else {
    Serial.println("Forward");                     Serial.println("Stop");
    digitalWrite(motor1Pin1, LOW);                 digitalWrite(motor1Pin1, LOW);
    digitalWrite(motor1Pin2, HIGH);                digitalWrite(motor1Pin2, LOW);
    analogWrite(enable1Pin, 220);                  analogWrite(enable1Pin, 220);
    digitalWrite(motor2pin1, LOW);                 digitalWrite(motor2pin1, LOW);
    digitalWrite(motor2pin2, HIGH);                digitalWrite(motor2pin2, LOW);
    analogWrite(enable2pin, 220);                  analogWrite(enable2pin, 220);
Second Milestone
My second milestone was to get the accelerometer to start printing values like velocity,temperature, and XYZ. In order to do this I would input a line of code that would track the X,Y, and Z axis of the accelerometer. For my project I focused on the Y axis, next I connected my two ESPs through a MAC address so the accelerometer values would connect to the motors. During this part of my project I faced many issues with the accelerometer and the ESPs, sometimes when I tried to get values I would instead get weird gibberish to show up. Here are some examples of my schematics and values.


My first milestone was putting together the outside of the car chassis and screwing the supports onto it and setting up the motors. Next I did some side projects to get used to using the ESP32 and learned more about coding on Arduino. I had to download some libraries into Arduino like TwoWayESP and TwoWayJSON to make sure my Arduino code would connect to the ESP32. Ardunio is a coding app which uses C++. I had a lot of trouble getting the ESP32 to connect to my code and get my motors running but I eventually got them fixed. After I got all that set up I got to working on my motor drivers and connecting the motors to them. Along the way I had lots of issues with securely attaching the wires or plugging into the wrong ports. I plugged in all the wires and got all four motors to spin.
(Here’s an example of some of the coding I did):
    void loop() {
    // Move the DC motor (A, B) forward at maximum speed
    Serial.println("Moving Forward");
    digitalWrite(motor1Pin1, LOW);
    digitalWrite(motor1Pin2, HIGH);